IQube

IQube
A fun and tactile puzzle-solving platform. Educational benefits of the Rubik's cube reimagined for the digital age.

User Feedback Study
During the design process for what would become IQube, our class repeatedly visited the Ark Charter School in downtown Troy. On our first visit, shown here, I interviewed five students over the course of an hour about their out-of-school environments and habits, favorite subjects & media, most interesting subject/ part of school.

Response Device
On the same day, we tested a response device intended to give information about student collaboration styles, their preferences in engagement/interactions, and their responses to puzzles.
This was done with a bi-color puzzle. Using 3D glasses, two students were required to work together in order to assemble two different jigsaw puzzles, one only visible through a blue filter, and the other through red, superimposed on the same set of pieces.
The feedback guided us towards our first prototype, shown on the next slide.

Cardboard Prototype
In order to test the viability of our first concept, we devised a simple cardboard prototype in tandem with a web app to gauge our test group's reception to our idea.

Prototype
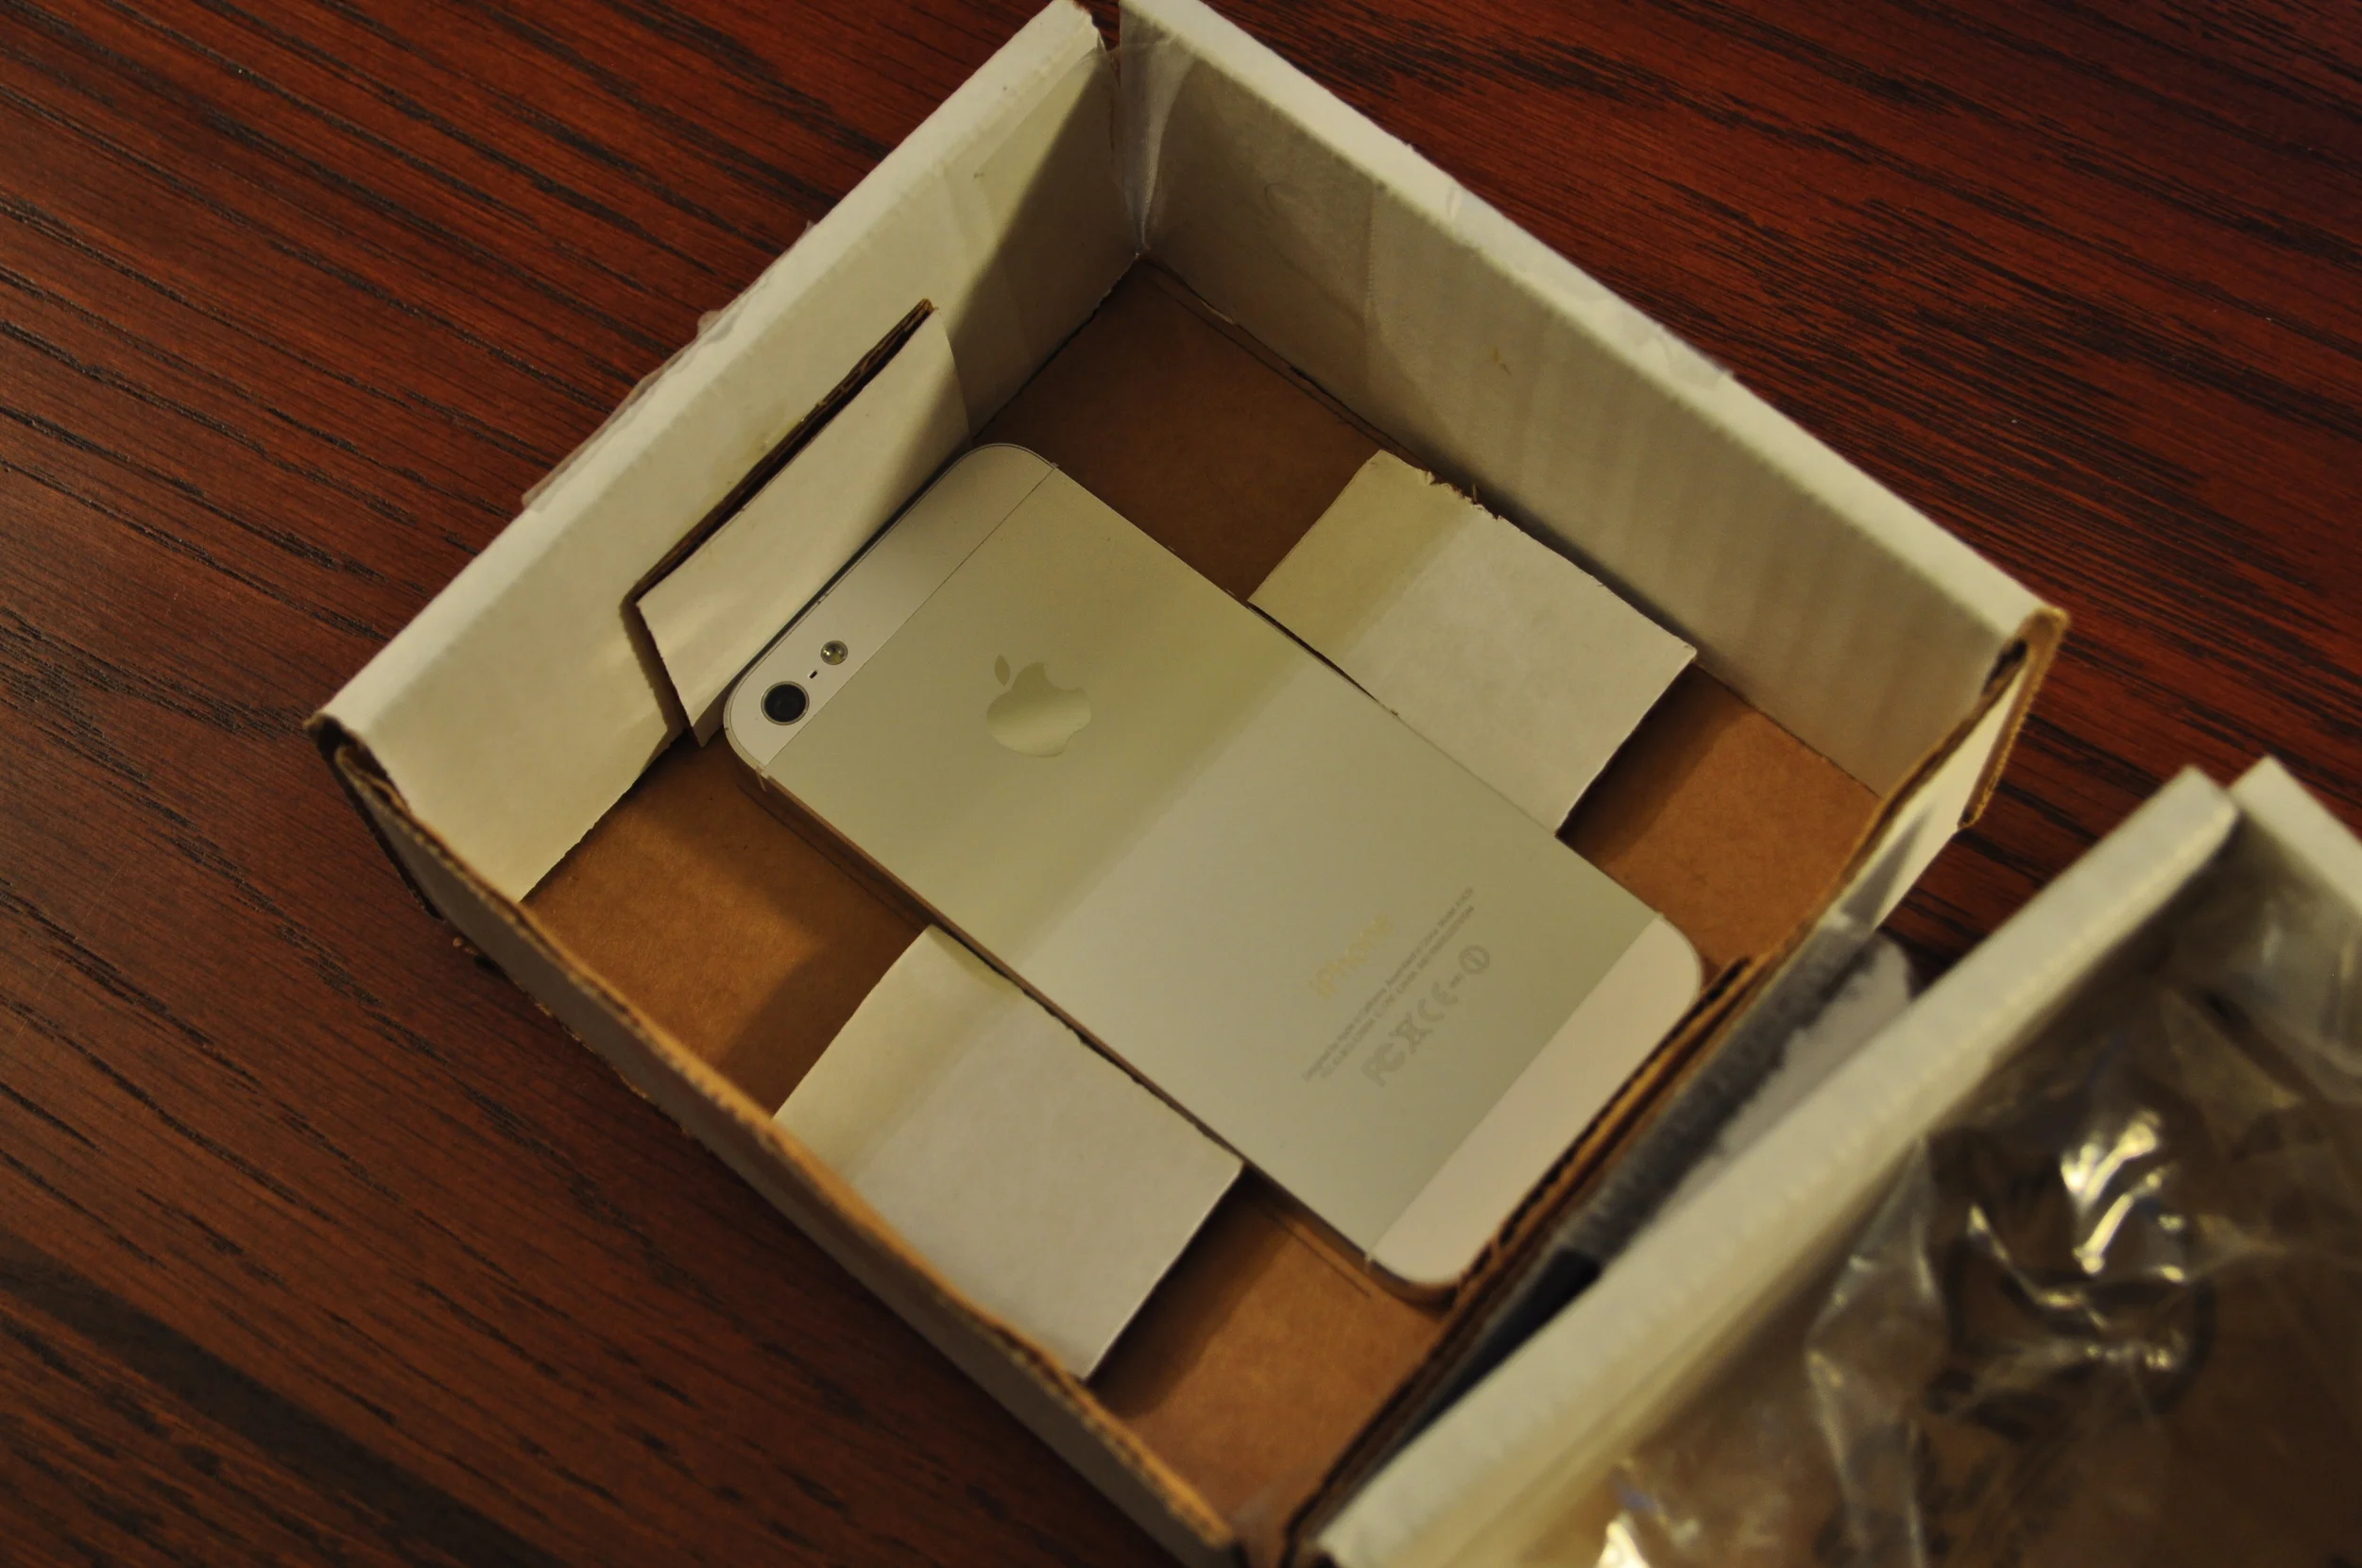
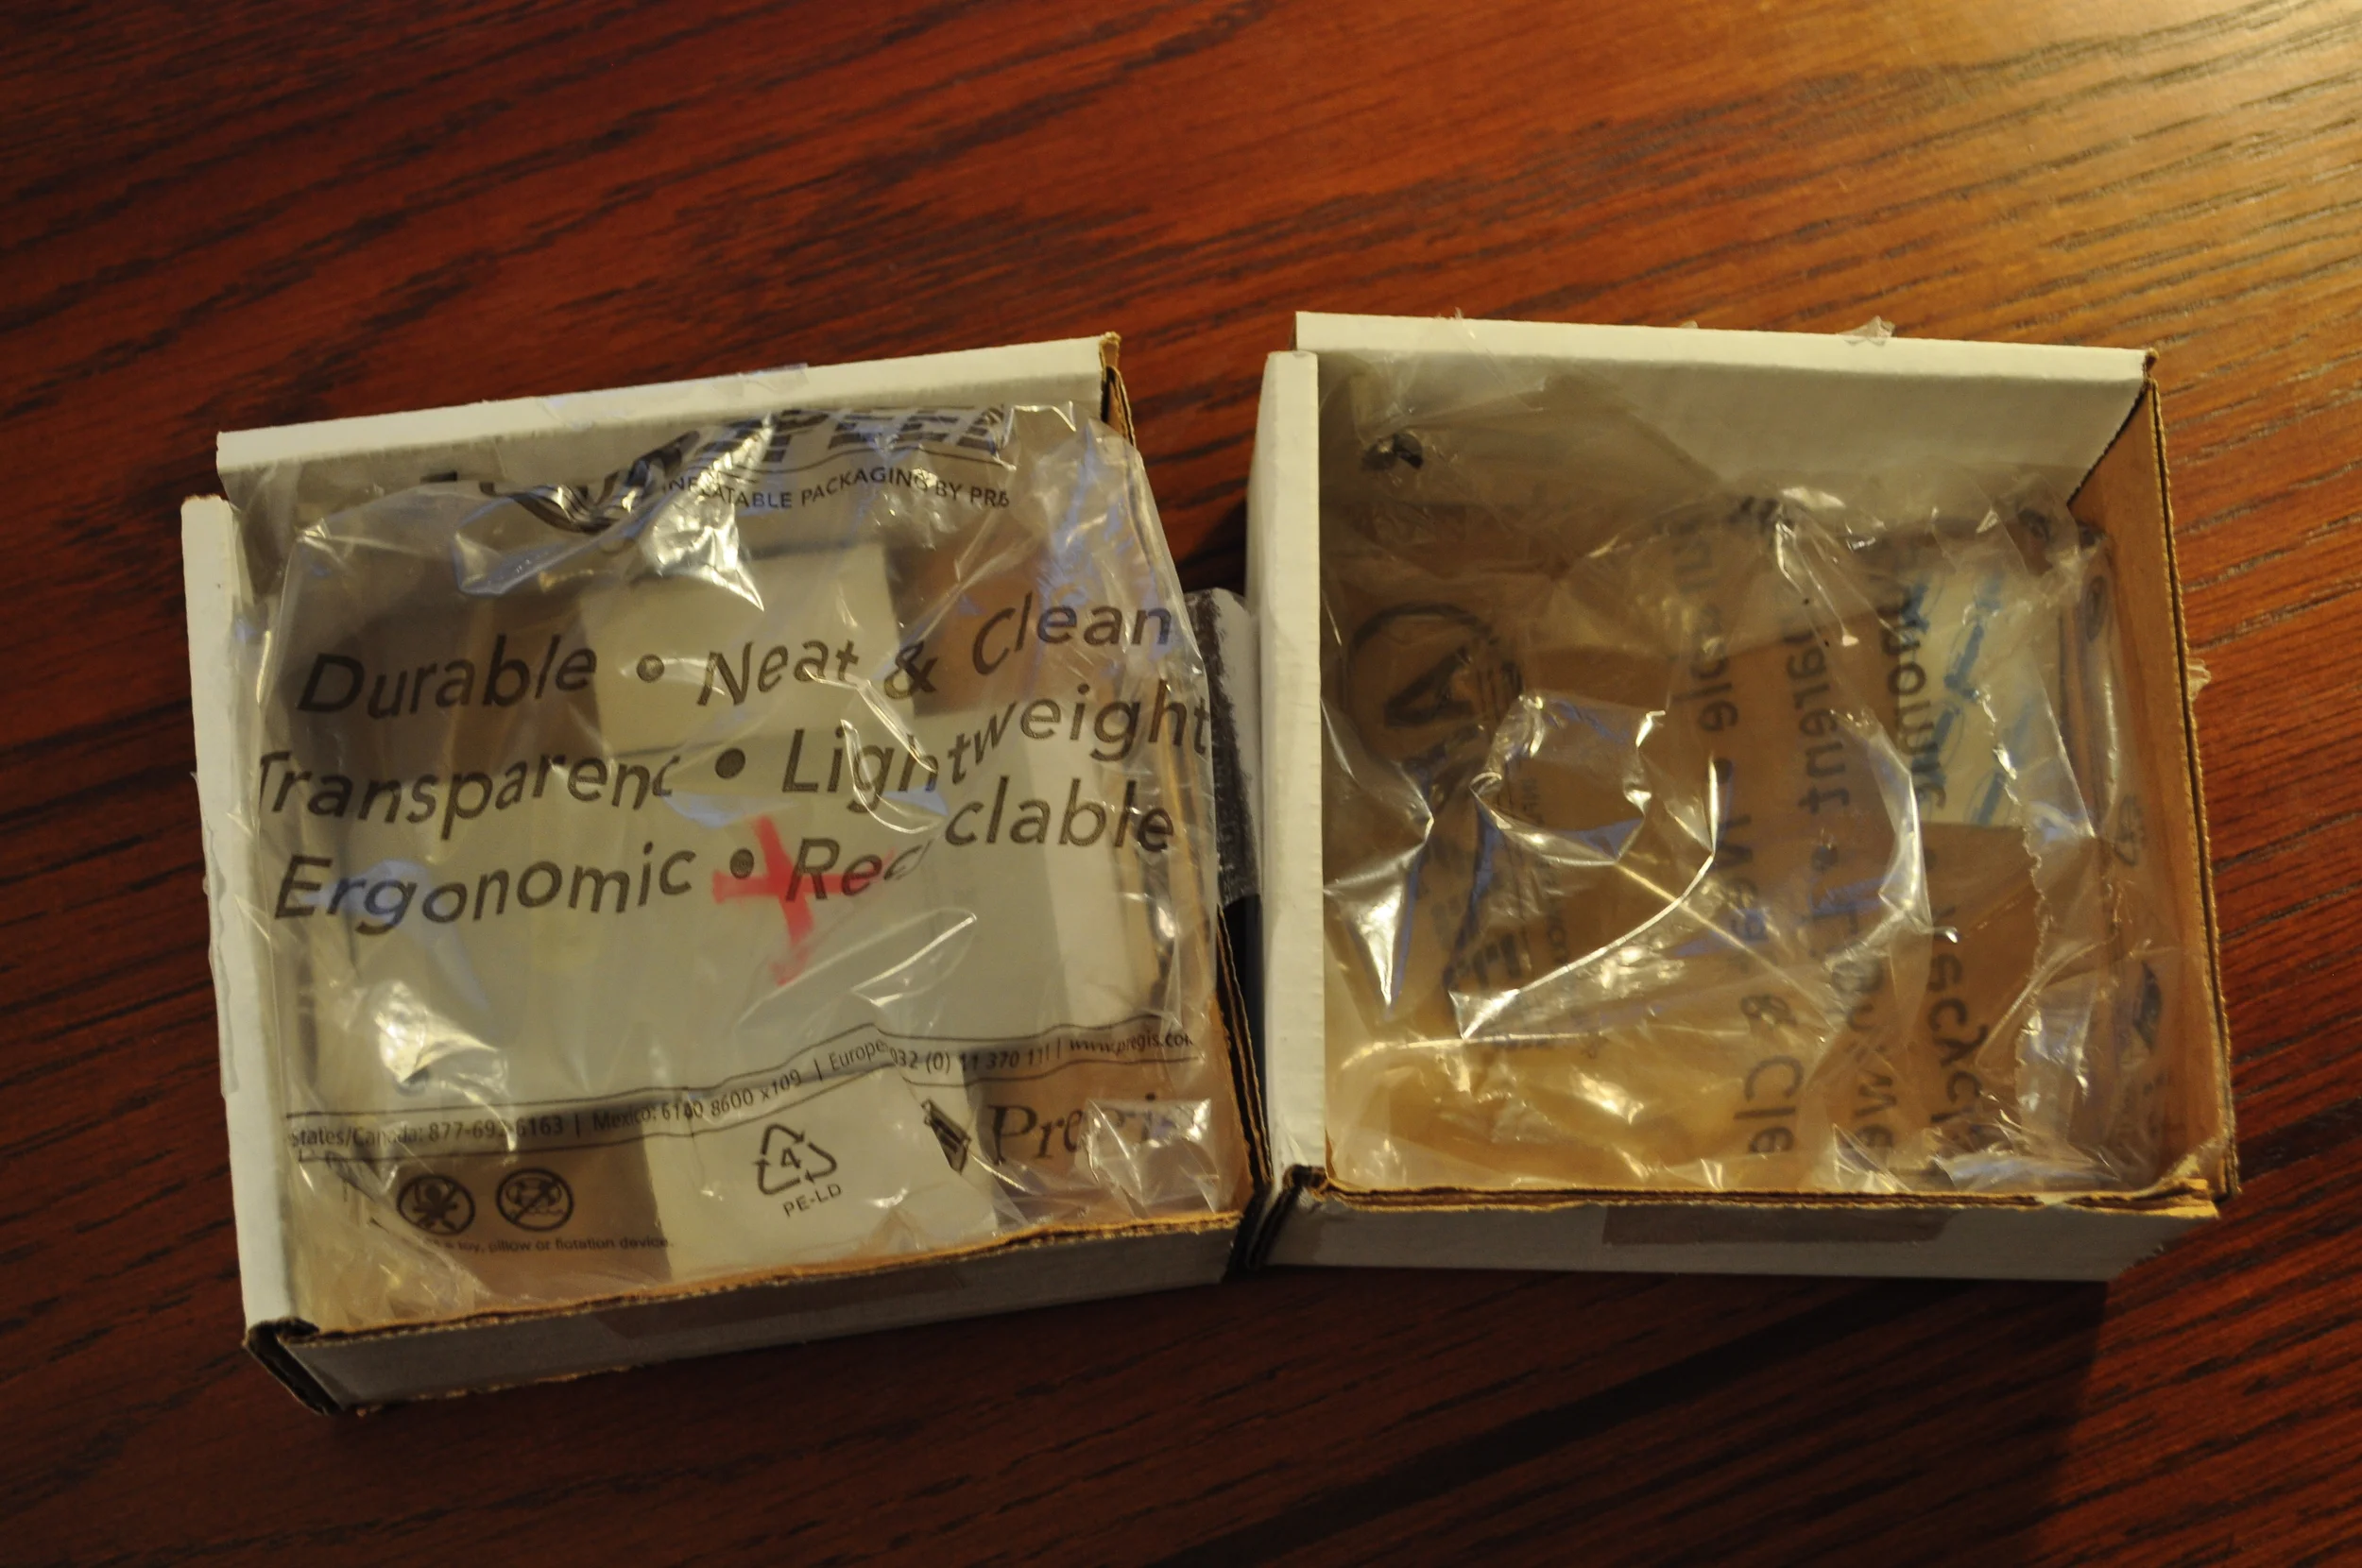
I cut apart a couple of banker's boxes and added some air cushion packaging to house an iPhone for our web app.

Cardboard Prototype
The iPhone was held in with cardboard supports and air packaging.

Cardboard Prototype
Alternate view

Cardboard Prototype
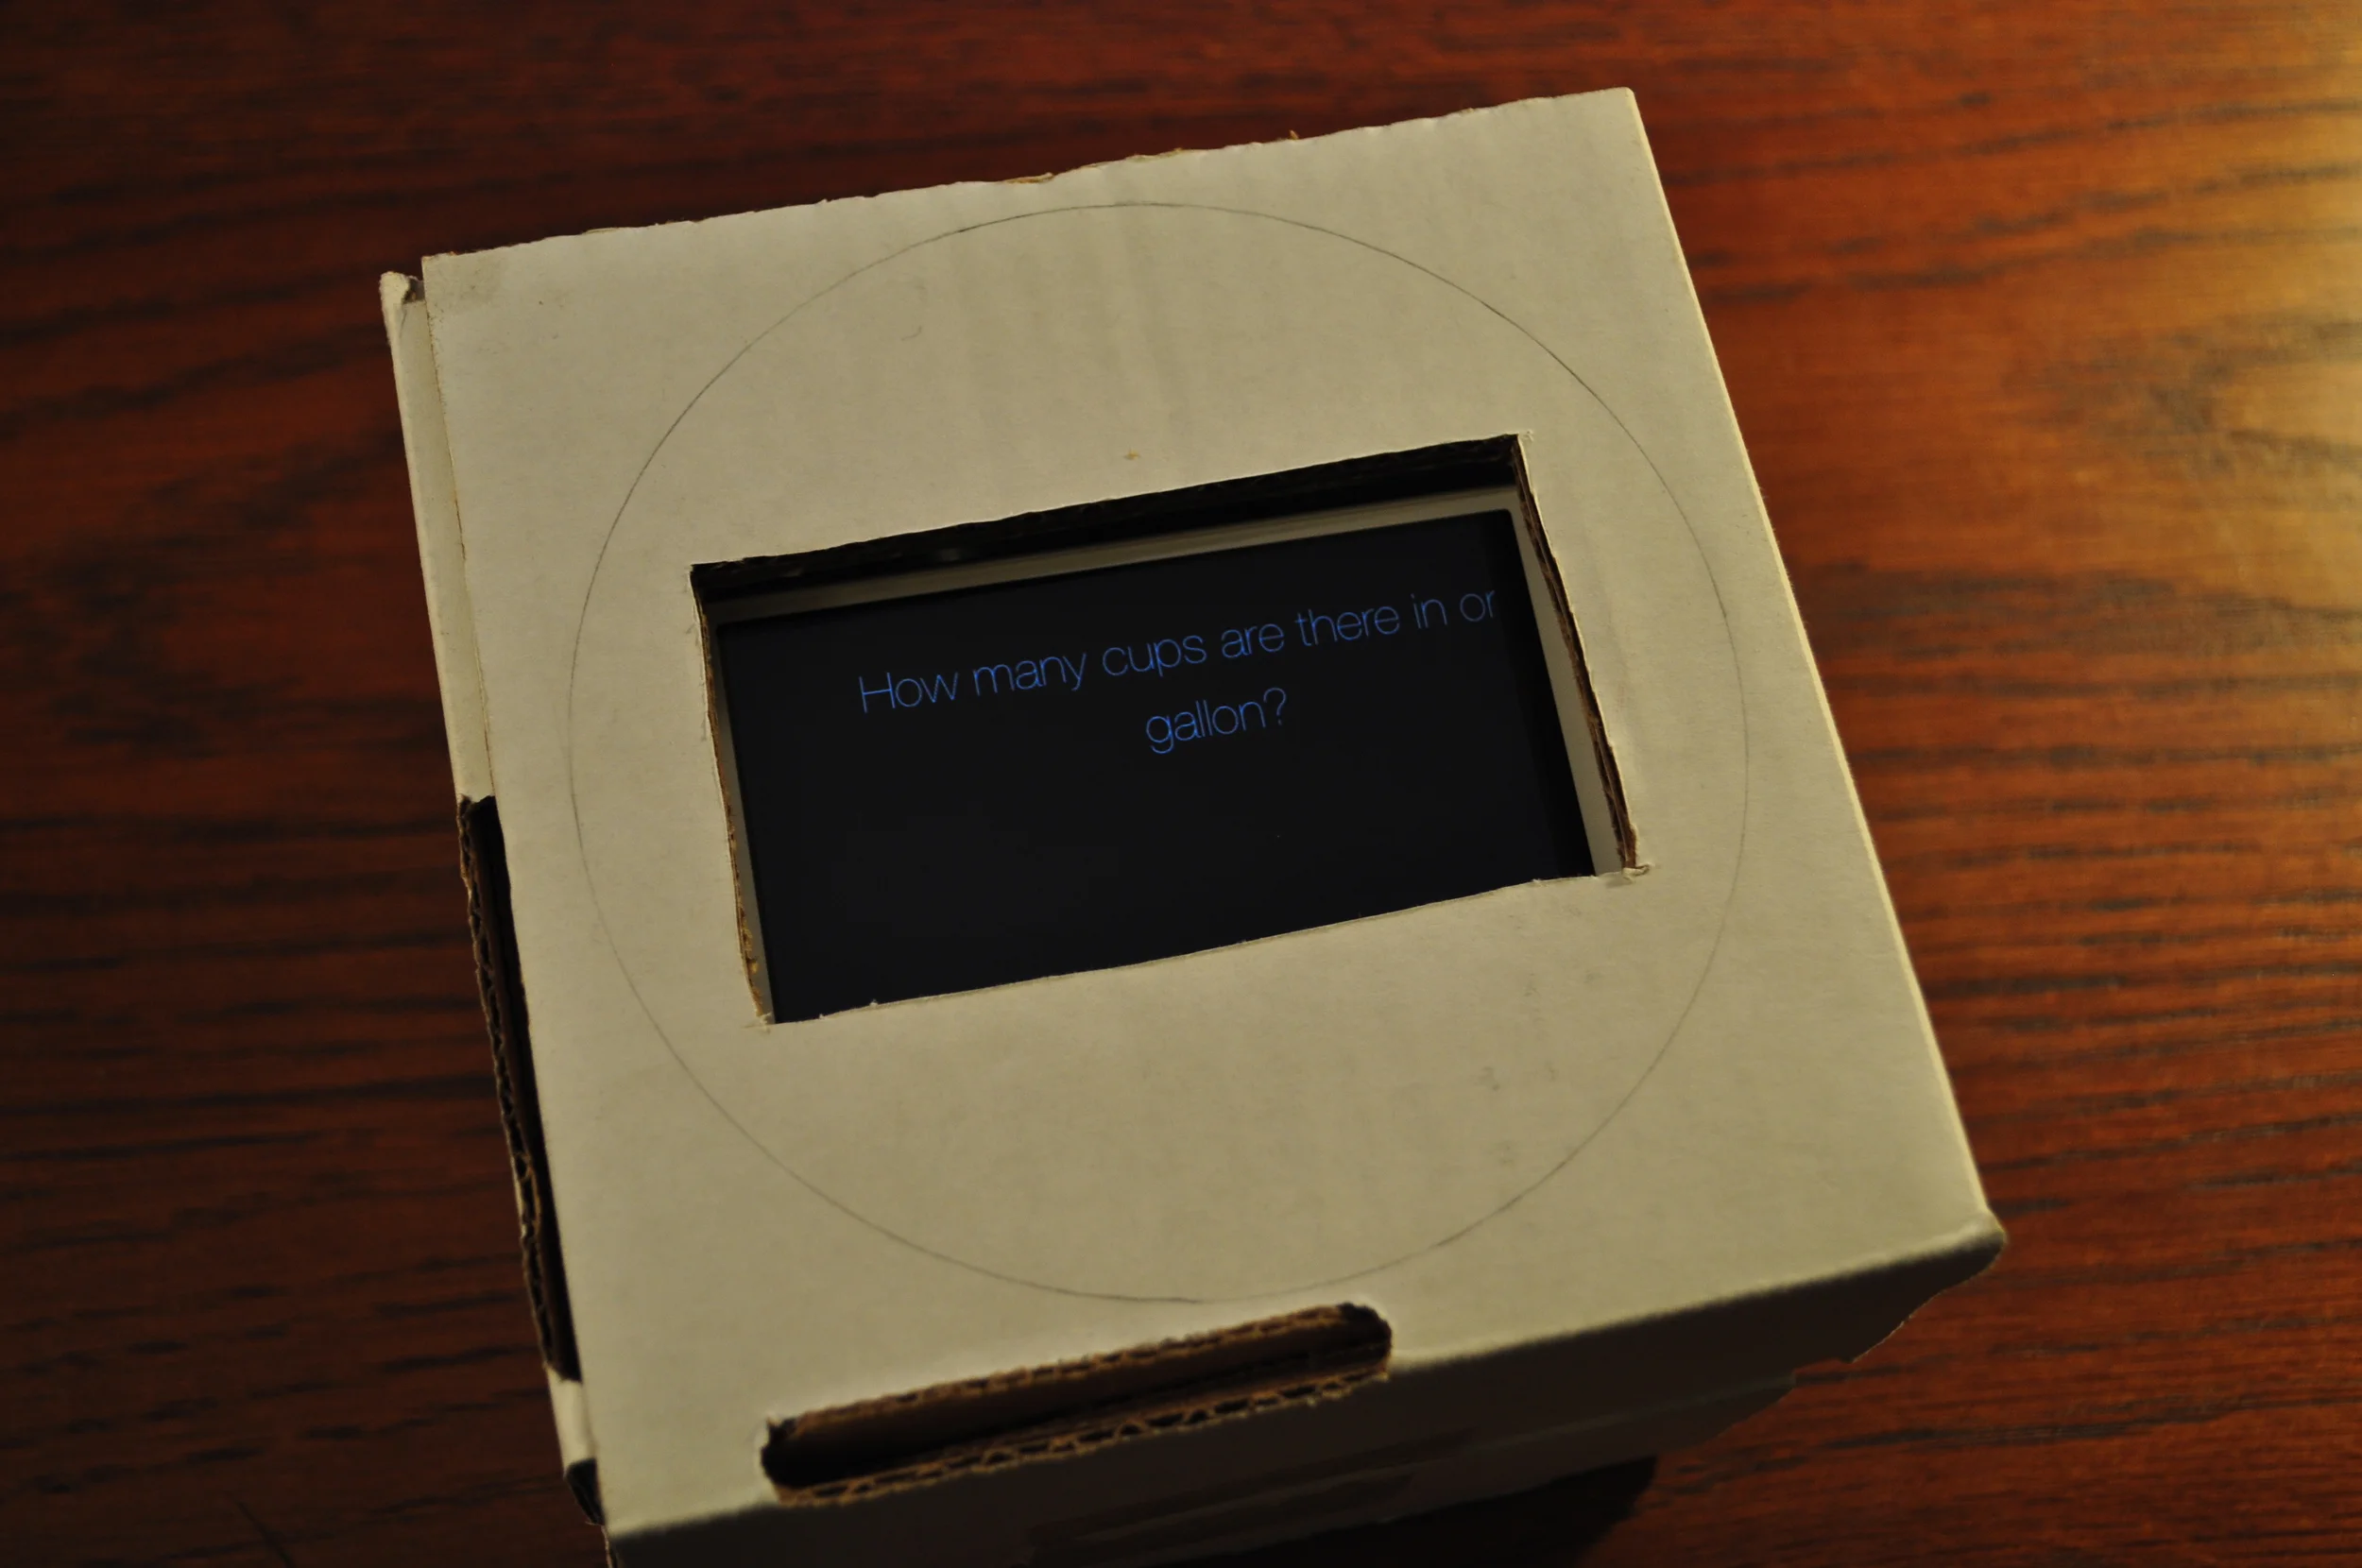
The iPhone screen was exposed through this hole, and the students were able to interact with the webapp shown in the following photos.

WebApp Screenshot
A sample question from our response device WebApp, there were 10 questions in all, with correct answers being selected by tilting the cube towards the correct screen.

IQube WebApp
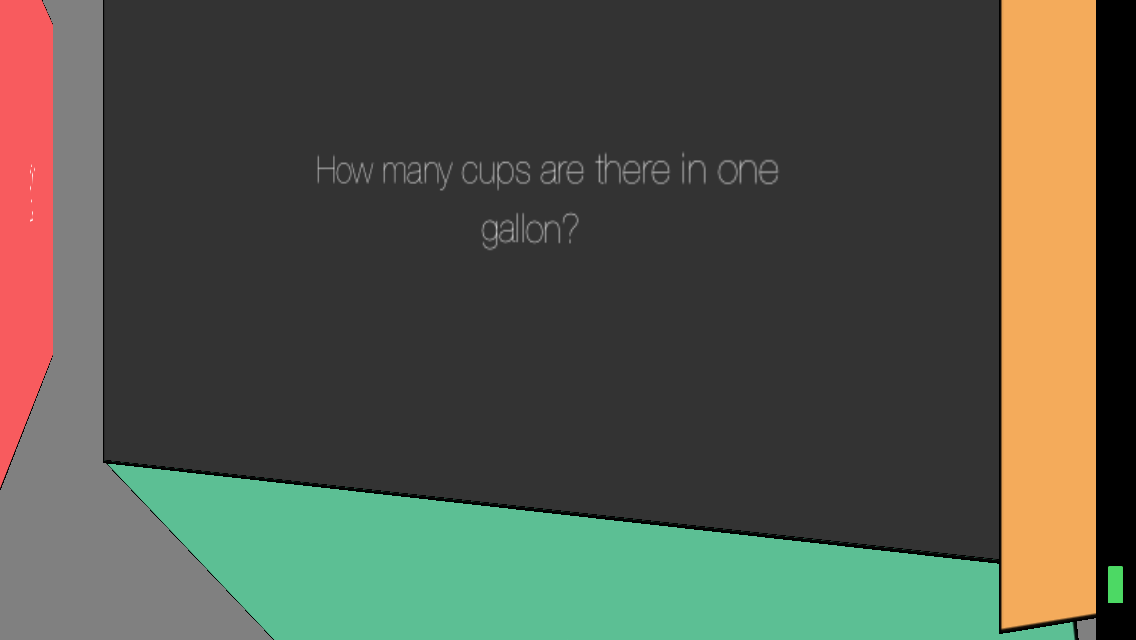
Alternate view of IQube response device WebApp, showing the behind-the-scenes 3D structure of each question in-browser.

Clay Model
In order to determine how the final product should work, I next tried out several rough scale models in clay. After this rough model, the features were refined and readied for CAD.

IQube Final Model
After hearing feedback from our prototype and following several design revisions, we settled on the form that I developed, shown here. The design incorporated an ergonomic exterior of a soft-touch polyamide in a size that is easy to grasp. The interior includes features dimensioned for mounting brackets and hardware.

3D Model Interior
The 3D print arrived from Belgium with lower definition than specified, though thankfully I had overtoleranced the cube's enclosure to make sure that each component fit.

Component Prep
The cube's LED displays arrived and were soldered together with color-coded wire extensions.

Test Wiring
Using my trusty Arduino, I next tested each display to ensure it was working correctly, and ran some simple animations on them from my computer.

Hardware Assembly
Next I fitted the LED displays inside the cube housing, running off of standard SDA connections. Since the cube enclosure was made to be compact, the wiring was somewhat difficult in the less than 4 in^3 space.

IQube Assembled
Just a few steps from being complete, at this point all the screens and sensors were installed inside the cube, leaving only the speaker and processor wiring.

Completion
Finally together, the IQube can be seen here during the end of its boot sequence. The battery life of our first generation device was somewhat short due to the space constraints of the cube and the large number of components we had running at a given time, but that can be improved.
At our final day with our Ark students, many of them asked, "When can I have one!?"

End of Album
For more info, see the references below:
Partner Site: http://zachtemkin.us/lab/iqube/
Course Webpage: http://homepages.rpi.edu/~eglash/eglash.dir/design.dir/pdi5.html


